Corner guards are essential for preserving the integrity of walls in both commercial and residential spaces. Whether you’re managing a bustling office, maintaining a hospital,
Continue reading

Corner guards are essential for preserving the integrity of walls in both commercial and residential spaces. Whether you’re managing a bustling office, maintaining a hospital,
Continue reading
When building or renovating multi-unit residential properties like apartment complexes, condominiums, or townhomes, smart material choices can have a big impact on both your bottom
Continue reading
Installing wall base may seem like a small part of finishing a room, but doing it the right way can greatly affect the look and
Continue reading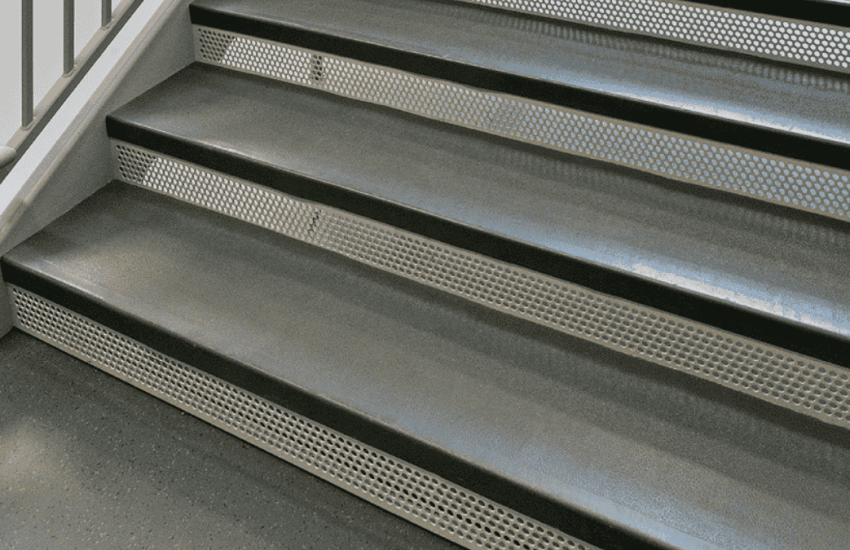
Stair treads may seem like a small detail in your home or building, but they can be very important. They help to keep you safe,
Continue reading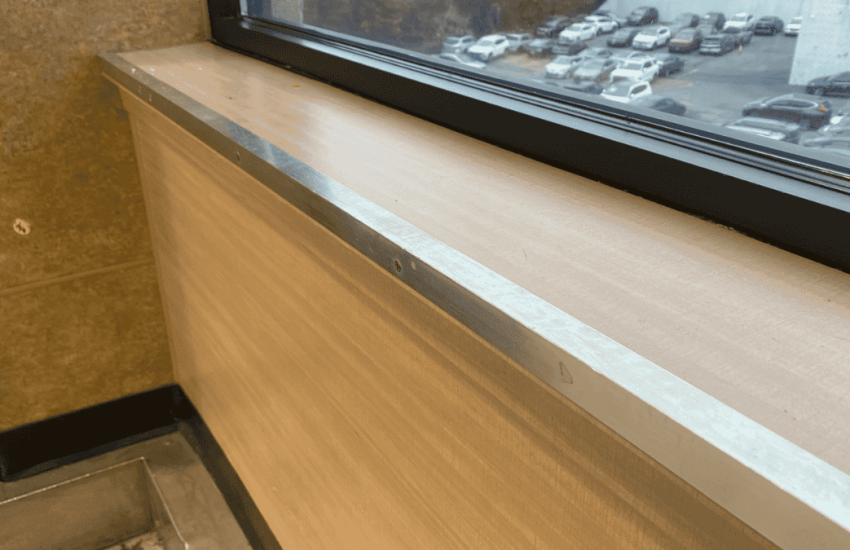
In high-traffic facilities, window ledges can take a serious beating—scuffs, chips, water damage, and even dents from carts or equipment. But a simple, smart retrofit
Continue reading
Whether you’re managing a construction project, a home renovation, or a commercial space, ensuring that your floors remain protected during heavy traffic or work processes
Continue reading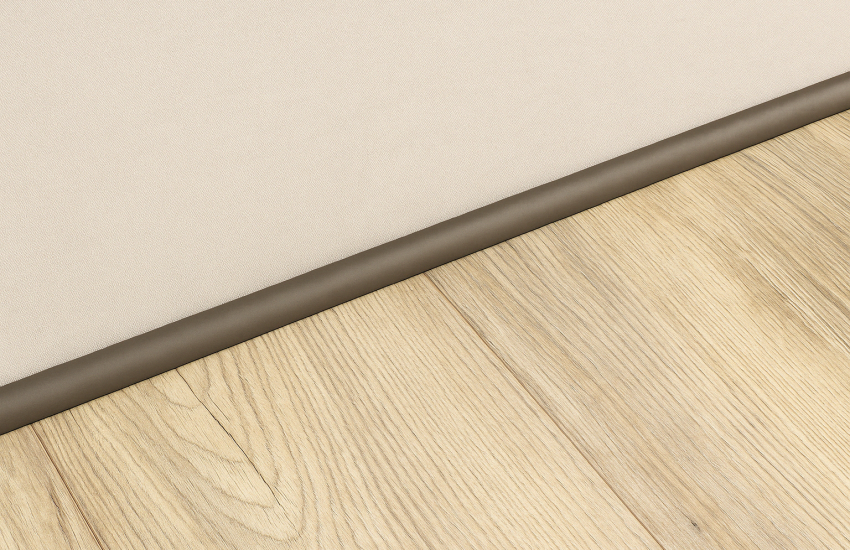
Floor transition strips might seem like a minor detail, but they play a crucial role in ensuring your flooring looks polished, stays protected, and provides
Continue reading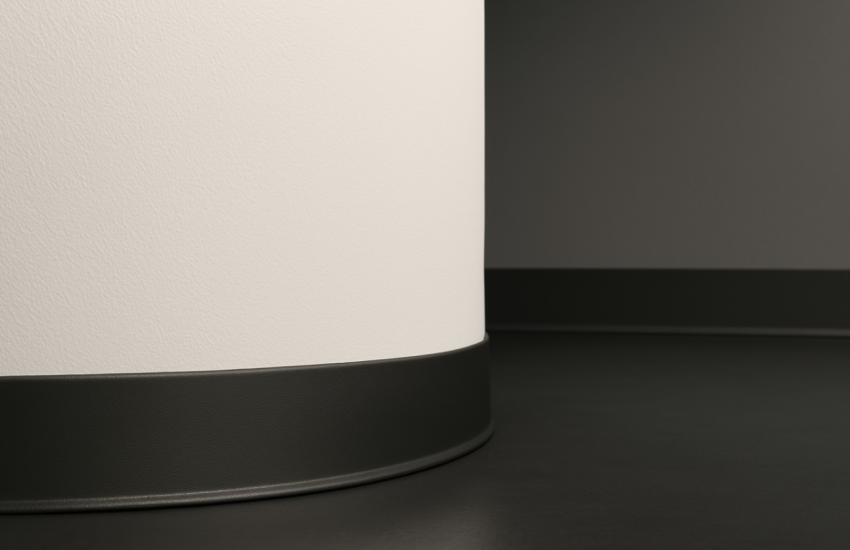
When planning commercial interior projects, it’s easy to overlook details like wall base installation, but this small investment can have a big impact on ROI.
Continue reading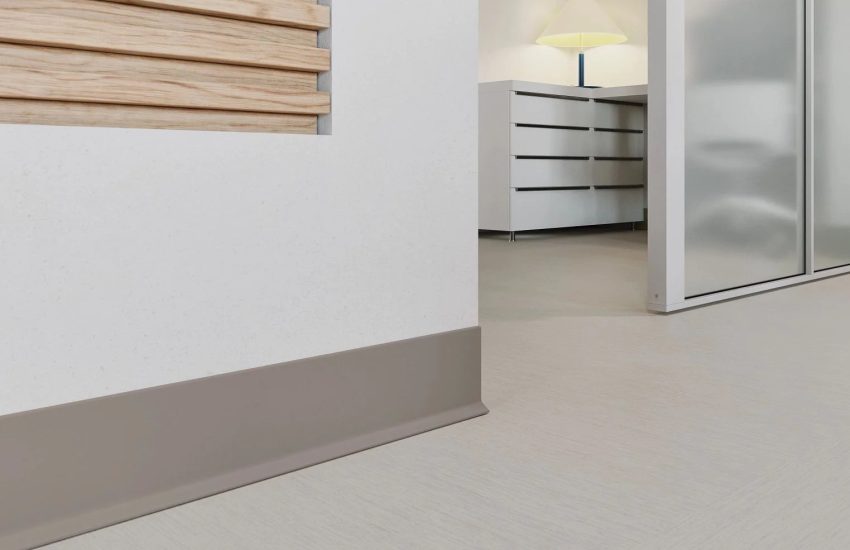
When you’re finishing a job, whether it’s new construction or a remodel, installing a wall base is usually going to be one of the final
Continue reading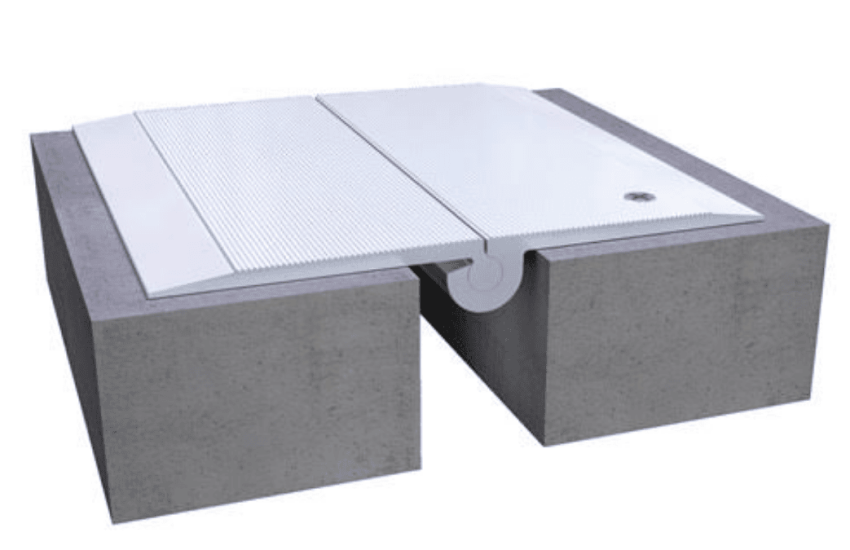
In the ever-evolving world of construction and infrastructure, the integrity of structures often depends on small but crucial components. One such element is the expansion
Continue reading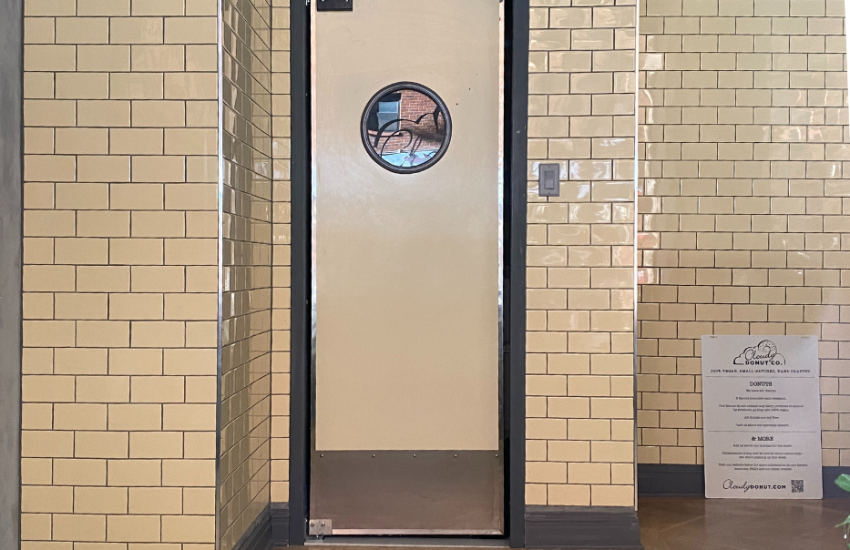
Anyone who has worked in a busy environment knows that accidents are inevitable. High-traffic areas like hospitals, kitchens, and hallways frequently suffer damage, especially to
Continue reading
When it comes to protecting your walls, especially high-traffic corners, paintable vinyl corner guards offer a durable and customizable solution. Unlike standard clear or colored
Continue reading
Renovating your home is a big investment—one that requires careful planning and the right team of professionals. The experts you choose can mean the difference
Continue reading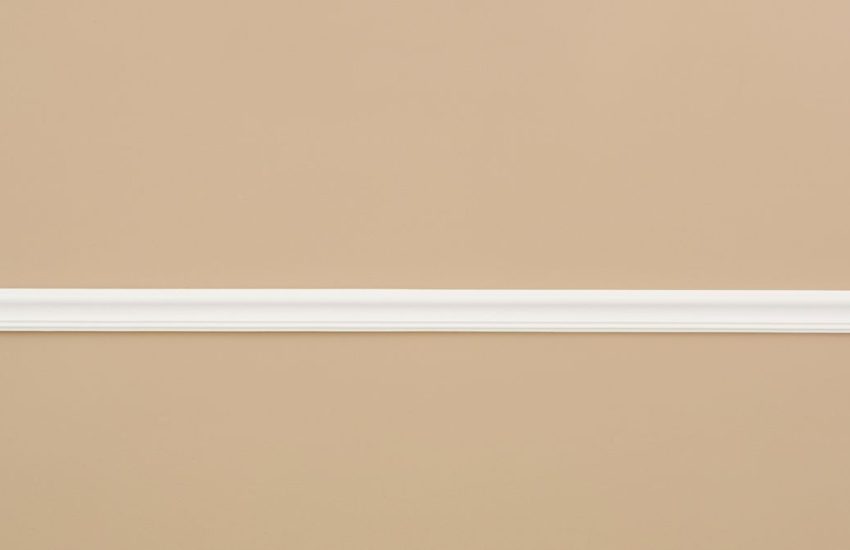
You may have noticed bumps, dents, or scuff marks lining the walls of commercial or retail environments. Chair rail molding can provide your walls with
Continue reading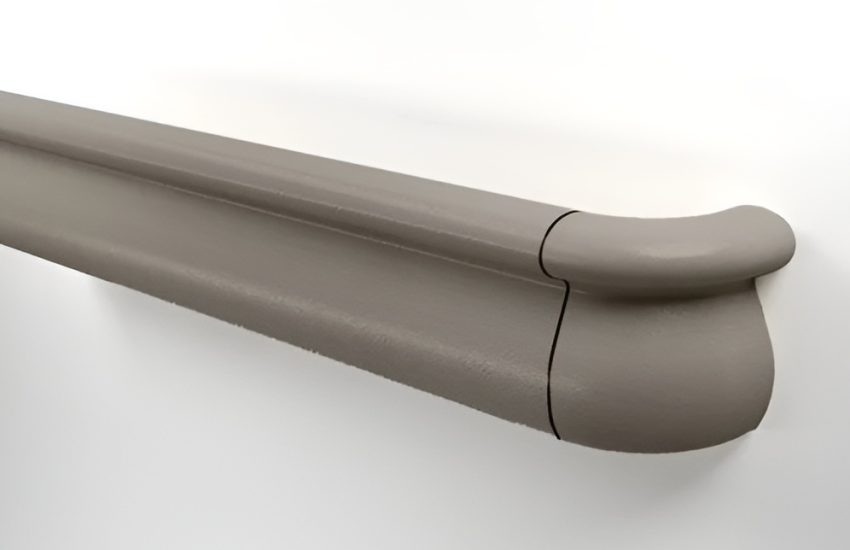
Handrail systems are designed to provide safety, accessibility, and aesthetics in commercial, healthcare, and public spaces. Over time, wear and tear can lead to damage—but
Continue reading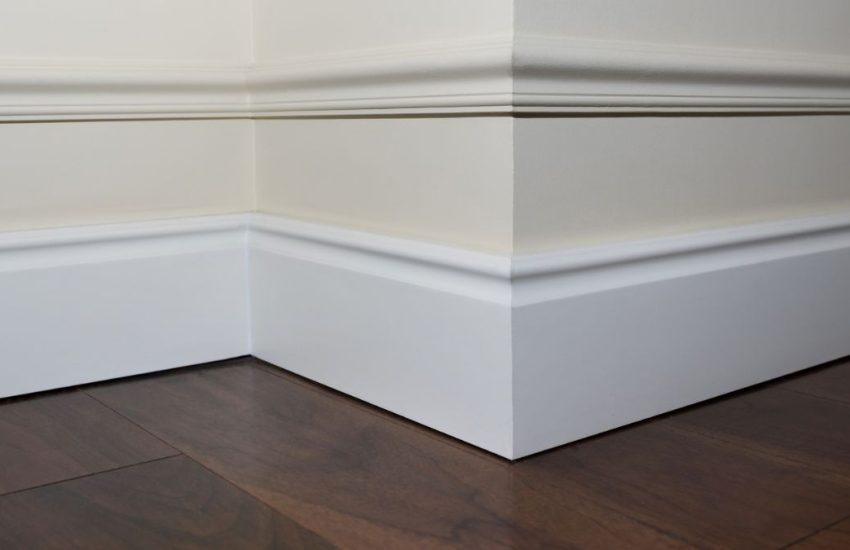
Baseboards—those simple, horizontal strips at the bottom of your walls—might seem like an afterthought in home design. But are they just there for show, or
Continue reading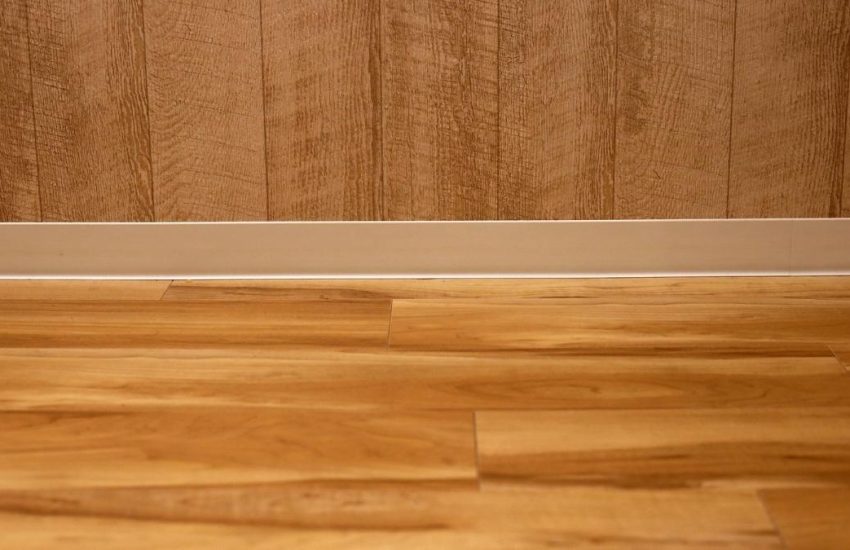
Wall base might not be the first thing you think about during a renovation, but they’re a crucial part of any space. They protect your
Continue reading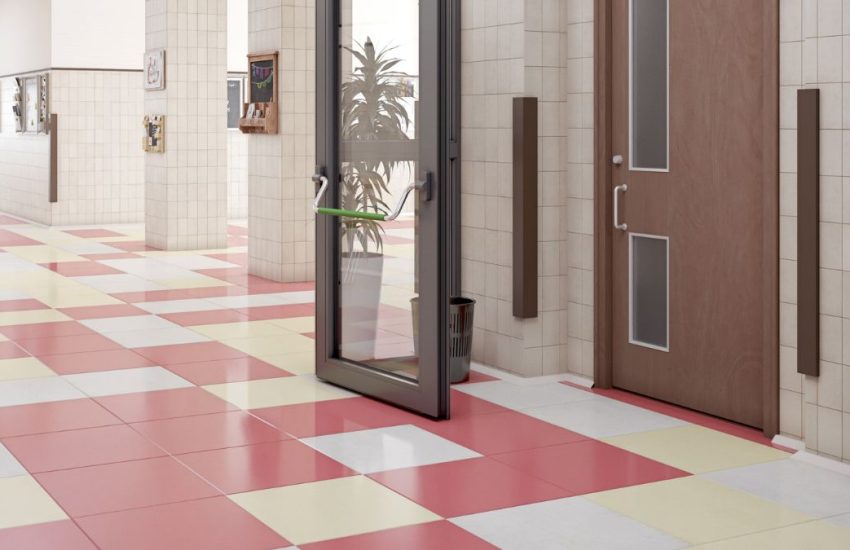
Wall corner guards are a simple and effective solution for protecting your space, but over the years, certain myths have emerged that often prevent people
Continue reading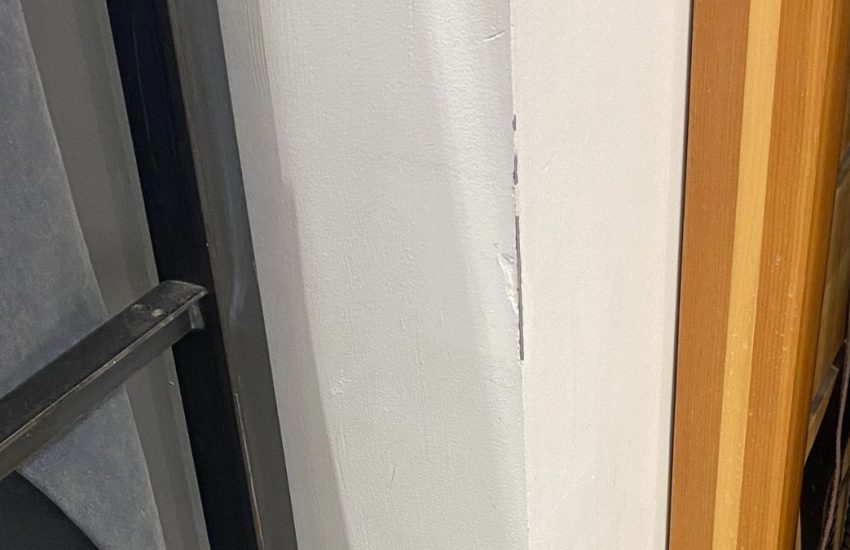
Maintaining the walls of your home or commercial space can be a costly and time-consuming endeavor. Corners, in particular, are highly vulnerable to damage from
Continue reading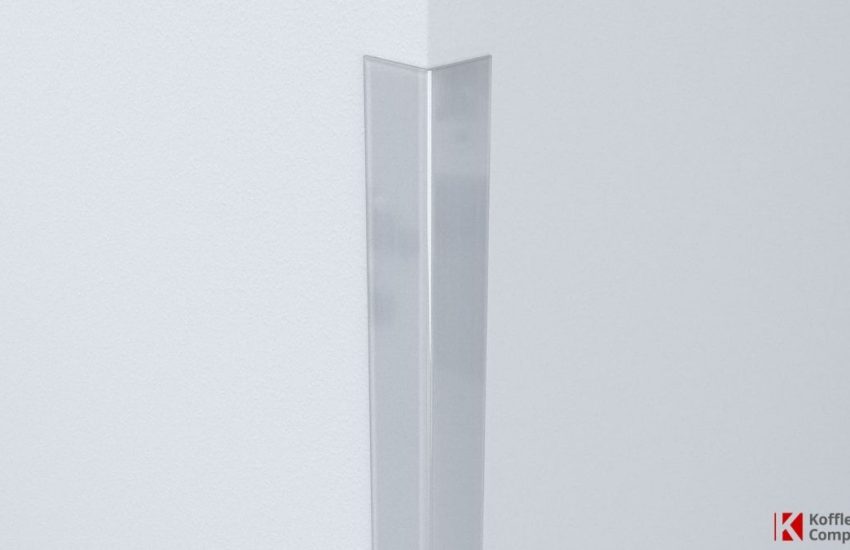
Clear corner guards offer a practical and subtle solution to protect wall edges in various environments. Crafted from high-impact materials, these guards shield against scratches,
Continue reading
Corners are some of the most vulnerable spots in a home, often bearing the brunt of daily life—whether it’s from moving furniture, bustling children, or
Continue reading